MIETUBL Brand Overview
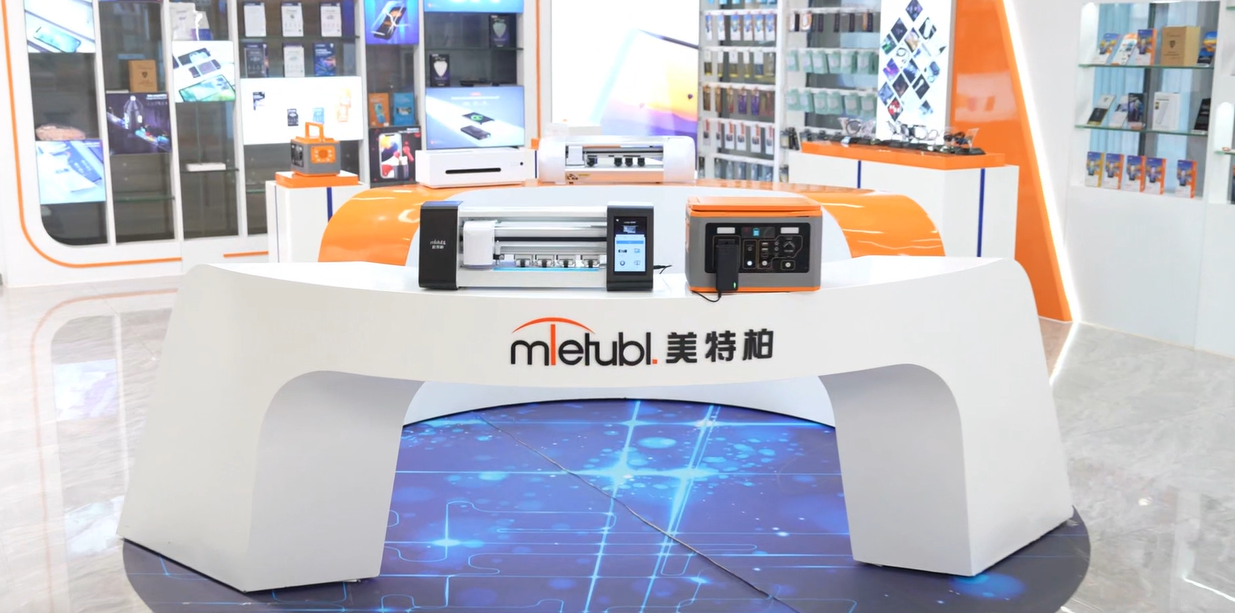
MIETUBL is a brand originating from China and thriving through China’s intelligent manufacturing. It is committed to providing high-quality mobile accessories and related products to global consumers. Since its inception in 1998, the brand has followed the trends of the times, focusing on resource integration and building a symbiotic and shared industry ecosystem, enabling global consumers to conveniently access quality products that enhance their lives.
By continuously innovating and diversifying its product offerings, MIETUBL has achieved significant success in the mobile accessory industry. As a brand driven by customer value and innovation, MIETUBL has expanded into various product applications while accumulating rich industry experience and establishing a stable customer base. Headquartered in Zengcheng, Guangzhou, the company has strategically positioned itself within the mobile accessory industry, integrating high-quality production resources and aiming for a win-win business model.
Core Values and Development Vision:
-
Customer-Centric: MIETUBL always prioritizes customer needs, continually enhancing product quality and consumer experience through innovation and technological research and development.
-
Resource Integration and Industry Symbiosis: By integrating industry resources, MIETUBL creates a symbiotic, shared industry ecosystem, connecting global distributors and consumers, and promoting mutual growth across the value chain.
-
Global Vision: MIETUBL is committed to bringing Chinese manufacturing to the world, providing global consumers with high-quality, innovative mobile accessories, while offering profitable opportunities for distributors.
MIETUBL’s long-term vision is to continually enhance its products through innovation and quality, establishing “MIETUBL” as a globally trusted brand, recognized in markets around the world.
PRODUCTS
How to Remove a Screen Protector Without Damaging Your Screen
Preparing for Removal
Before you even touch the screen protector, proper preparation is key. Find a clean, well-lit workspace. A table or desk is ideal. You'll need a few tools: a small suction cup (often included with new screen protectors, or available cheaply online), some isopropyl alcohol (70% concentration or higher), a microfiber cloth (lint-free is crucial!), and optionally, some adhesive remover (like a citrus-based cleaner). Avoid using your bare fingers, as they may leave residue. Clean your hands thoroughly before beginning. Also, turn off your device to avoid accidental inputs during the process.
The next step is cleaning the screen protector itself. Use the isopropyl alcohol and a microfiber cloth to gently wipe away any dust or debris that might interfere with the removal process. Work slowly and methodically, ensuring the entire surface is clean. Avoid using excessive pressure, and let the alcohol air dry completely before proceeding. This ensures you're only working with the adhesive and not any dirt which might scratch the screen underneath.
Lifting an Edge
Now comes the delicate part: lifting an edge of the screen protector. This is where the suction cup comes in handy. Gently place the suction cup on a corner of the screen protector, ensuring a good seal. Then, using a steady, even pull, carefully lift a small portion of the protector. Avoid jerky movements, which can increase the risk of damage. If the suction cup doesn’t work, you can try gently using your fingernail, focusing on a corner. You are aiming for a tiny lift, not a complete peel.
Once you’ve successfully lifted a small edge, you can use your fingernail or a thin, plastic tool (like a guitar pick – be extremely careful!) to further separate the protector from the screen. Work slowly, inch by inch, using a controlled motion to ensure you are not pulling too hard or causing the protector to tear. If it feels like it’s sticking too tightly, apply a small amount of adhesive remover to the edge to help break the seal. Remember, patience is crucial at this stage.
Removing the Protector
With a small edge peeled back, continue the process of slowly separating the screen protector from the screen. Maintain a steady, even pressure, ensuring the protector peels away smoothly. If the protector starts to tear, stop immediately and use the adhesive remover to loosen the remaining adhesive. Never pull aggressively, as this will almost certainly result in screen damage. The goal is to gently coax the protector off, not rip it off.
Work your way across the screen, using the suction cup or your fingernail (again, carefully!) as needed to assist in peeling. As you peel, continue to clean the screen with the microfiber cloth and isopropyl alcohol to remove any remaining adhesive. This is important because the screen is susceptible to scratching and damage at this stage. Once the entire protector is removed, give the screen one final clean to remove any residual residue. Examine the screen carefully; if any adhesive remains, gently apply more isopropyl alcohol or adhesive remover.
Post-Removal Cleaning
After successfully removing the screen protector, the final step is thorough cleaning. Use the isopropyl alcohol and microfiber cloth again to ensure the screen is perfectly clean and free of any remaining adhesive residue. Work in small, circular motions, applying gentle pressure. Avoid using paper towels or other abrasive materials, which can scratch the screen. Once you're satisfied with the cleanliness, allow the screen to air dry completely before applying a new screen protector or using your device.
Following these steps will significantly reduce the chances of damaging your screen during screen protector removal. Remember that patience and a gentle touch are key to a successful and damage-free removal. If you feel uncomfortable performing this task yourself, consider seeking professional help at a repair shop.
SUBSCRIBE
INQUIRY